
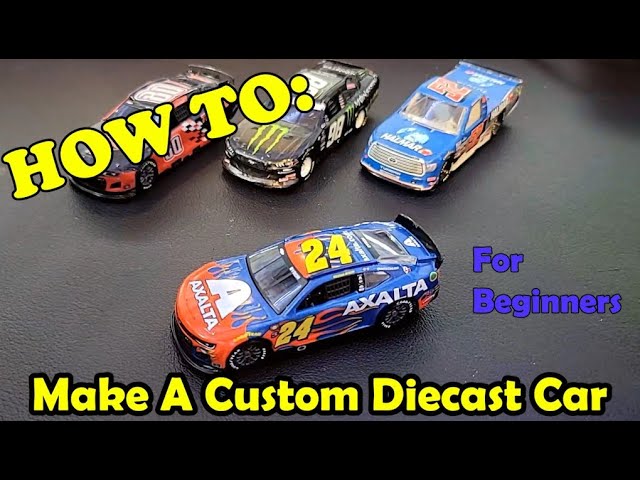
Okay, folks, let’s dive into how I made my own custom NASCAR diecast. It was a bit of a ride, but totally worth it in the end.
First things first, I grabbed a donor car. You know, just a regular 1/64 scale diecast, nothing fancy. I picked one up at a local store – you can find them pretty much anywhere that sells toys or collectibles. Make sure it is the right type of car, I went with a Chevy.
Next up, stripping the paint. This part was messy! I used some paint stripper that’s safe for plastic, and with a worn brush I brushed the paint stripper. Followed the directions on the bottle, and let it sit for a *, I took an old toothbrush and scrubbed that old paint right off. It took some elbow grease, but eventually, I had a nice, bare metal car.
Prepping for Paint
Before I could start painting, I washed the car with some soapy water. Got rid of any leftover paint stripper or gunk. Then, I let it dry completely. Patience is key here, people!
Once it was dry, I hit it with a primer. Just a basic spray primer for plastic models. A couple of light coats did the trick. This helps the actual paint stick better and gives you a nice, even finish.
The Fun Part: Painting!
Now for the fun stuff! I used acrylic paints, the kind you can get at any craft store. I went with a classic red and white color scheme, because, why not? I applied a few thin coats, letting each coat dry completely before moving on to the next. This part takes time, so don’t rush it!
After get the paint on, I used tape to mask the area, and painted the car roof black.
Decals and Details
Once the paint was dry, it was time for decals. I printed my own using decal paper, But you can also buy pre-made NASCAR decals online if you’re not feeling crafty. I carefully cut out the decals and applied them to the car, using a bit of water to help them slide into place.
I also added some details with a fine-tipped permanent marker. Things like the driver’s name, sponsor logos, and little racing stripes. This is where you can really make it your own!
Sealing the Deal
Finally, to protect all that hard work, I sprayed on a clear coat sealant. This gives it a nice, glossy finish and keeps the paint and decals from chipping or fading. I used a spray-on sealant, again, just a couple of light coats did the job.
- Get a donor car.
- Strip the old paint.
- Wash and prime the car.
- Paint it up!
- Add decals and details.
- Seal it with a clear coat.
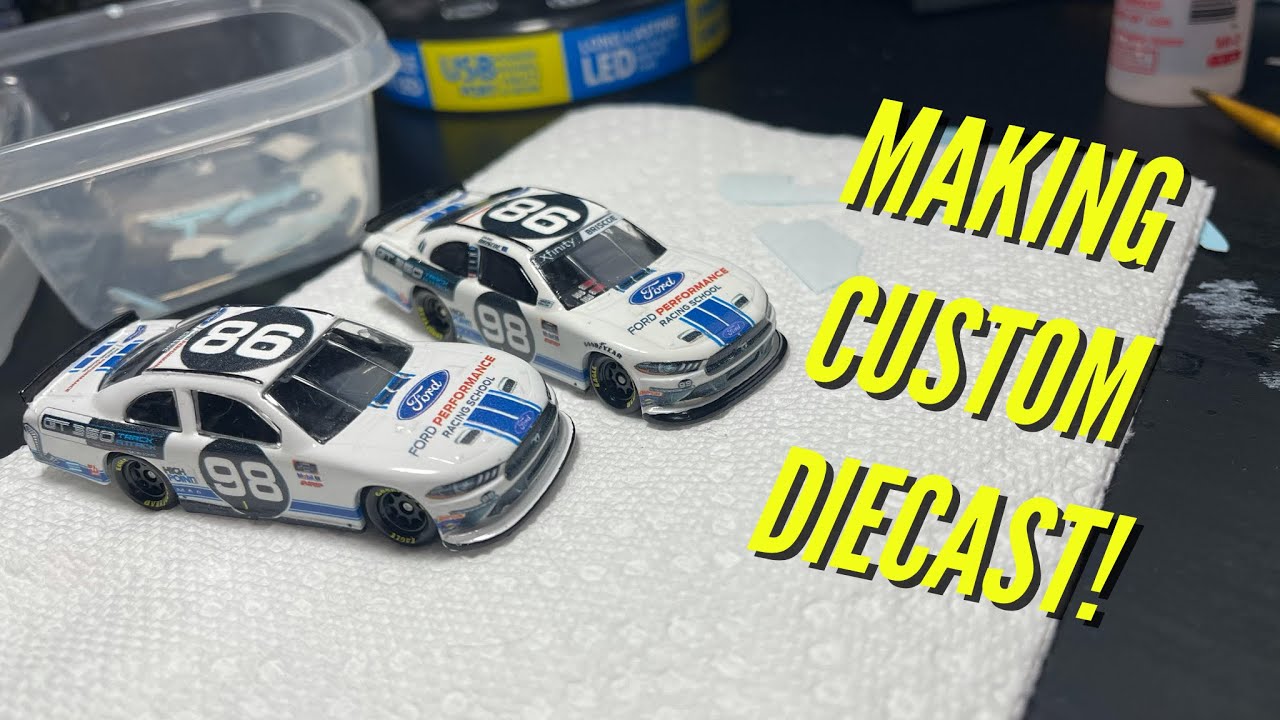
And there you have it! My very own, one-of-a-kind NASCAR diecast. It wasn’t perfect, but it was mine, and I learned a ton along the way. If you’re thinking about trying this yourself, I say go for it! Just be prepared to get your hands dirty and have some fun. I even showed it to my son and passed it down.


