Alright, guys, let’s talk about how to get online in NBA 2K24. I spent a good chunk of my evening figuring this out, so you don’t have to.
Get Connected
First things first, I made sure my internet was solid. I mean, nobody wants to lag out in the middle of a game, right? So, I went ahead and checked my connection. It was okay, but I rebooted my router anyway, just to be safe. You know, sometimes these things need a little kickstart.
- Checked internet connection
- Rebooted router
Check the Game Settings
Then, I launched the game and headed straight to the settings. I wanted to make double-sure that everything was set up for online play. I double-checked that my network settings in the game were all good. Most of it is automatic, so there wasn’t much to tweak, but it’s always good to look.
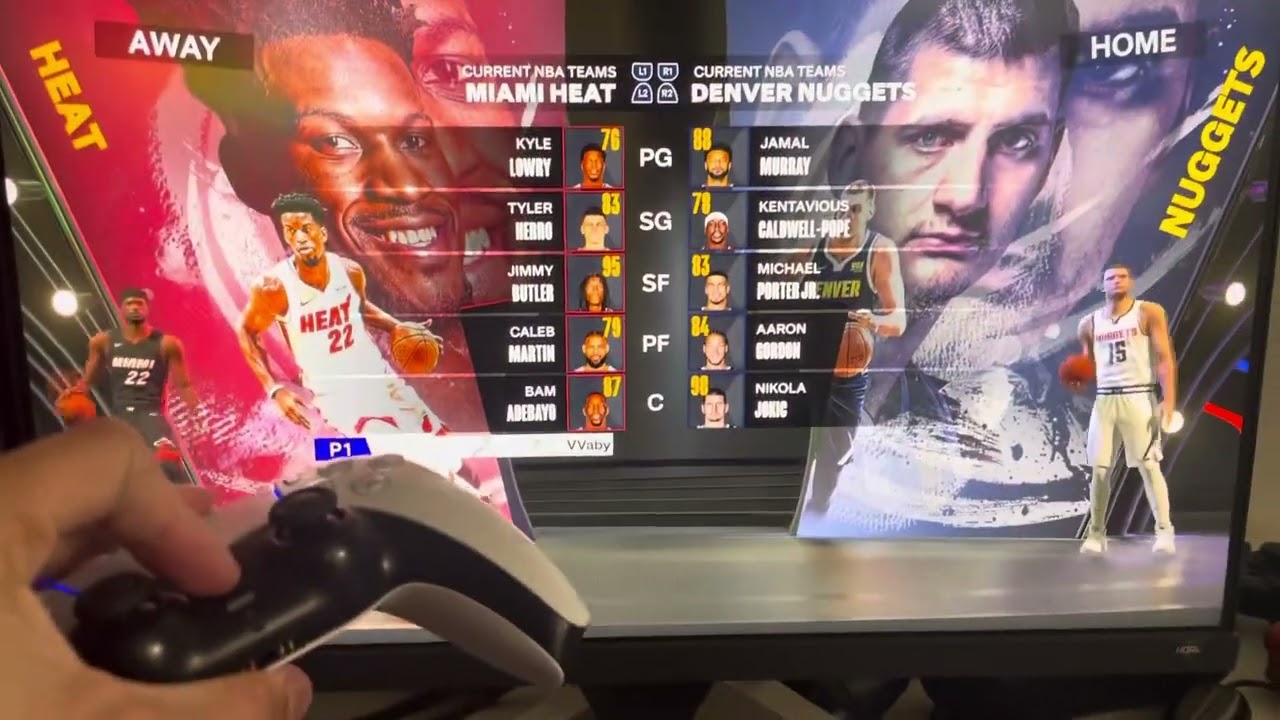
Test with Quick Game
After that, I figured I should test it out. I jumped into a quick game. This is a pretty chill way to see if you’re really online without getting into anything too serious. It’s also a fun way to play against your friends, so invite your friends to join the game, no pressure, just good old fun.
- Started a quick game
- Verified online connection
Firewall and Antivirus
Now, I didn’t have any issues, but I know some folks do. If you’re having trouble, it might be your firewall or antivirus. I remembered reading somewhere that sometimes these can block the game. So, I made a mental note to check those settings if I ran into any problems. Luckily, I didn’t have to mess with them this time.
- Noted potential firewall/antivirus issues
Enjoy the Game
And that’s pretty much it! I was online and ready to go. I played a few games, and everything went smoothly. It’s a blast playing against real people instead of just the computer. I highly recommend getting online if you haven’t already. Trust me, it’s way more fun.
So, there you have it. That’s how I got online in NBA 2K24. Hopefully, this helps some of you out. Now, if you’ll excuse me, I’ve got some games to play!


