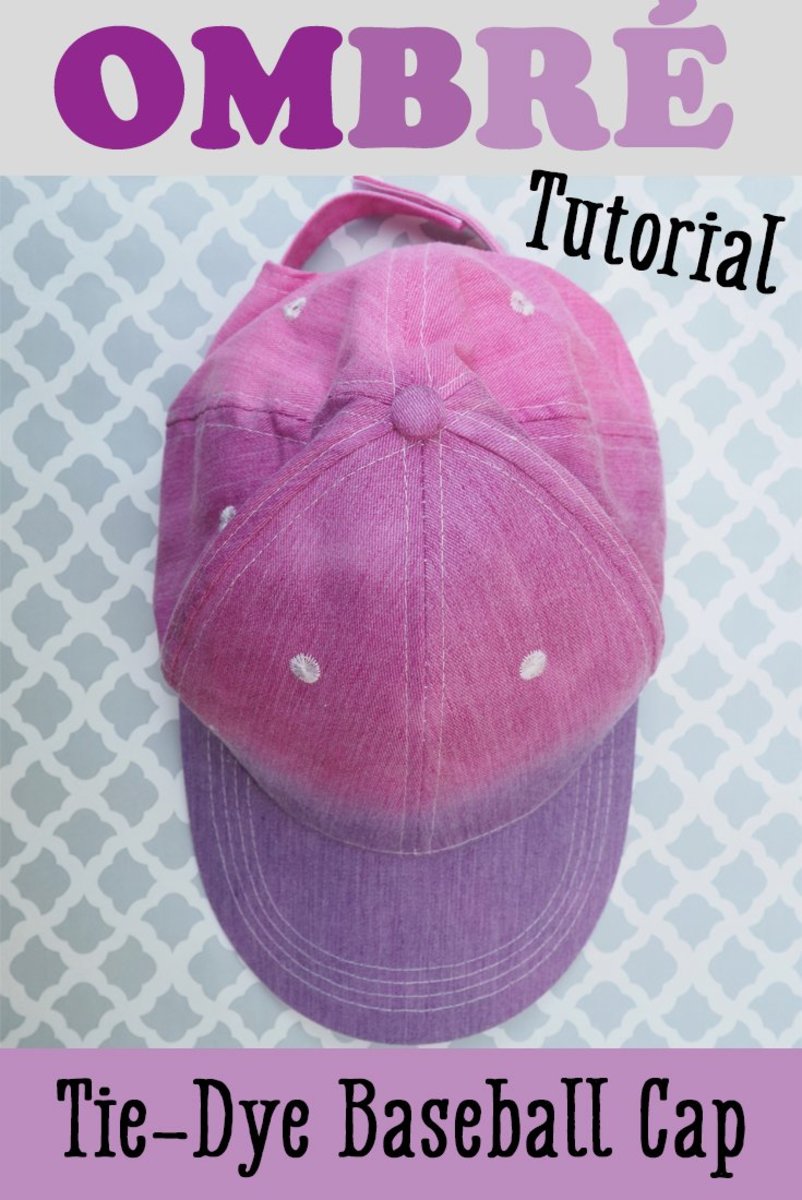
Okay, so I’ve been seeing these tie-dyed baseball hats all over the place lately, and I thought, “I gotta try that!” So, I grabbed an old white hat I had lying around and decided to give it a shot. Here’s how it went down.
Gathering Supplies
First things first, I needed to gather my supplies. I already had the hat, but I needed some dye. I went with this basic tie-dye kit I found because it seemed easy enough. Also, you will need rubber bands, gloves and a bucket to put the dye in. I didn’t have a bucket, so I used a large plastic container instead. I also grabbed some plastic wrap and some paper towels because, you know, things can get messy.

Prepping the Hat
Before I could start dyeing, I needed to prep the hat. I gave it a good rinse in some warm water to remove any dirt or anything. I also made sure that I didn’t put any softner into it. The hat needed to be damp for the dye to really stick, so I just left it wet. You can put it in the washing machine, just skip the dryer.
Getting Creative with Rubber Bands
Now for the fun part – the rubber bands! I wanted to try a spiral design, so I laid the hat flat and pinched the center. Then, I started twisting it like I was making a cinnamon roll. Once it was all twisted up, I wrapped a bunch of rubber bands around it to hold it in place. It kind of looked like a weird, flat, white pizza.
Mixing the Dye
Next up, the dye. I followed the instructions on the kit and mixed the dye with some warm water in my plastic container. I wanted a vibrant look, so I went with some bright colors like pink, blue, and yellow. I made sure to wear the gloves that came with the kit because I didn’t want rainbow hands for the next week.
Dyeing Time!
With my hat all bundled up and my dye ready, it was time to get down to business. I carefully dipped each section of the hat into the different colors, making sure to saturate the fabric. It was a little tricky to get the dye in between all the folds, but I just took my time and made sure everything was covered.
Waiting Game
Once I was happy with the color distribution, I wrapped the whole hat in plastic wrap to keep it moist. Then came the hardest part – waiting! I had to let it sit for at least 6-8 hours for the colors to really set. I’m not the most patient person, so this was a struggle. I kept checking on it like every hour, but I resisted the urge to unwrap it.
The Big Reveal
Finally, after what felt like forever, it was time to unwrap my masterpiece! I rinsed the hat under cold water until the water ran clear, then removed the rubber bands. And let me tell you, I was pretty stoked with how it turned out! The colors were super bright, and the spiral pattern looked awesome. There were a few spots where the white fabric didn’t pick up enough dye, so I will make sure to get it all the next time.
Finishing Touches
After letting the hat air dry completely, I gave it a quick wash in the washing machine by itself, just to make sure all the excess dye was gone. And that’s it! My very own, custom tie-dyed baseball hat.
Honestly, it was way easier than I thought it would be. And it’s so cool to have a one-of-a-kind hat that I made myself. I’m already thinking about what colors I want to use for my next one. Maybe a rainbow one? Or maybe some more muted tones? The possibilities are endless!


